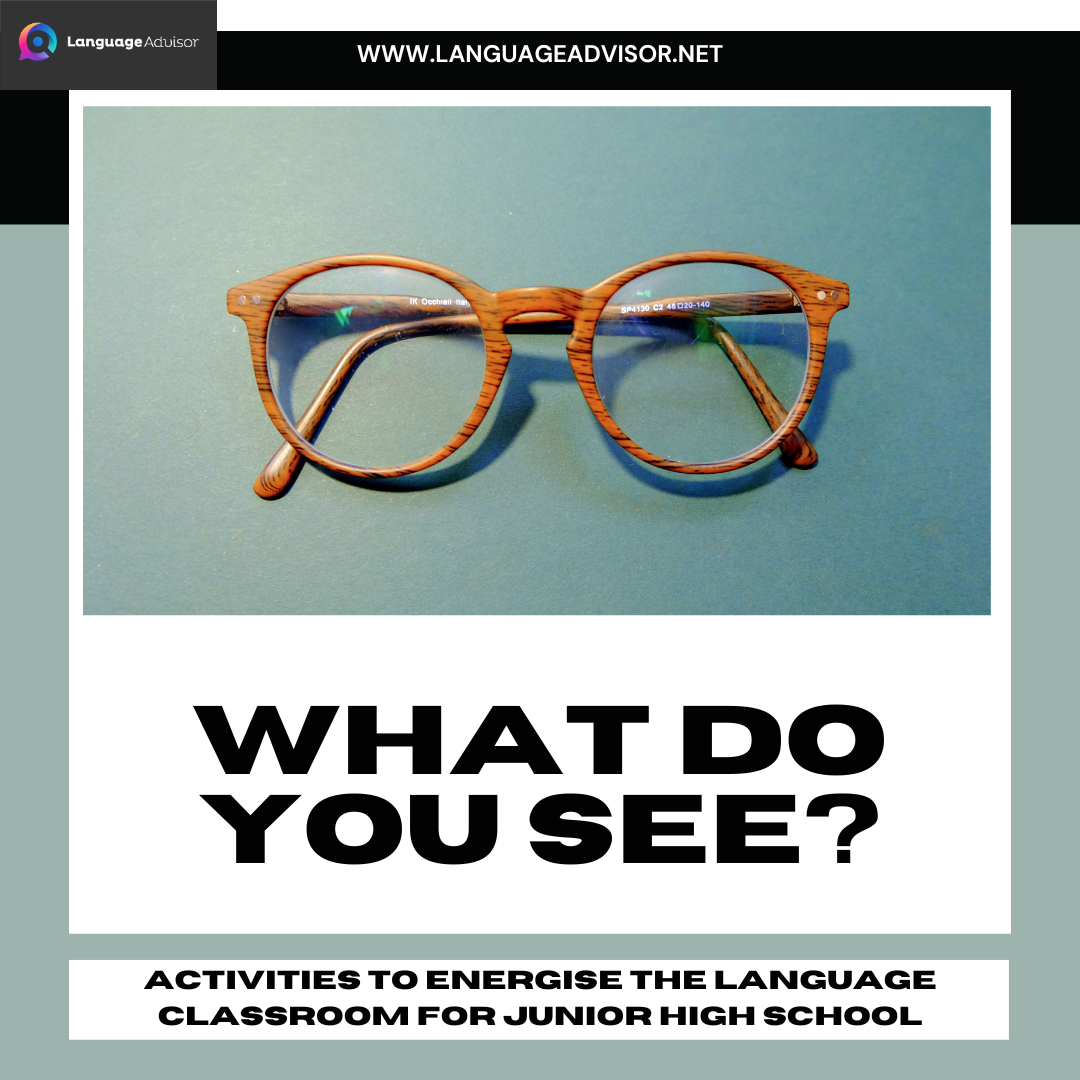
WHAT DO YOU SEE? Games and Activities to Energise the Language Classroom for Junior High School
WHAT DO YOU SEE?

Energising Language Classroom Activities for Junior High School: A Teacher’s Guide
Junior high school students often find language classes challenging, but as a language teacher, you have the power to transform these challenges into engaging learning experiences. Classroom activities are the key to achieving this transformation. These activities not only make learning enjoyable but also foster a deeper understanding of the language, leading to improved fluency and proficiency. In this blog post, we will explore a diverse range of innovative and interactive language classroom activities designed specifically for junior high school students. Whether you’re looking to enhance vocabulary retention, boost conversational skills, or make grammar lessons more enjoyable, this guide will provide you with a rich array of strategies to create a dynamic and effective learning environment for your students. Let’s embark on this journey to energize your language classroom and inspire your students to become passionate language learners.

WHAT DO YOU SEE?
Target Group: 2nd year
Difficulty Level: Fundamentals
Activity Objective: For students to gradually create longer more descriptive sentences using the grammatical structure ‘There BE VERB’
WHAT DO YOU SEE? – Procedure
This activity is designed to take up a whole 50 minute class. Students are given a hand-out and are shown a PowerPoint presentation. Simple pictures of 1 thing are shown to the students and the students must respond with a ‘There BE VERB…’ sentence. For Example, “There is a princess.”
After a slide or two, students are told to add an adjective to their sentences, e.g. ” There is a beautiful princess.” After about the 5th slide, students are shown a more complex picture with multiple objects, for example a painting of a park. Students can name all the different things they see: “There are many big trees”, “There is a big pond”, “There are people eating”, etc. The next slide is to be used with the hand out. Students are shown a ‘hidden objects’ picture, e.g. a picture of a kitchen with a plethora of vegetables, fruits, kitchen wares etc. They spend one or two minutes taking turns with a partner describing things they see using ‘There’. Next they spend two minutes writing down as many as 5 sentences. The students are instruction to turn over there hand-outs and put down there pencils so they are not tempted to write while they should be speaking. They are shown a new picture. For this picture students point out objects with location descriptions. For example, “There is an old hat on the table.” Students again spend a minute or two telling each other what they see. After the speaking section, students are instructed to write down 5 sentences of things they see. Finally, a last slide is shown to the students and the same instructions are given.
This time student are instructed to say two sentence: one ‘There sentence’ and one ‘non-there sentence’, e.g. ” There is an expensive watch near the lamp” and ” An expensive watch is near the lamp”. The last time students write the sentences down they must write down both versions.
Materials and Preparation
Creating a PowerPoint with the slides or alternatively making copies of the photos to be used is necessary. Also so sort of handout needs to be made to give the students a place to write down their answers, and also help them by listing example sentences for each section.
Suggestions and Advice
You can find that students perform better in classes when the activities are related and reinforce each other. This activity is meant to work with the students’ textbook and expand on the principles they are learning. Encourage higher-level thinking by demonstrating to the students how this sentence structure is connected to other sentence structures. Try not to move on to the next section without ensuring the students have fully understood the previous section first. It’s recommended to start with easy pictures. Begin by showing students a simple picture and ask them to describe what they see. Initially, they might use simple words like ‘tree’ or ‘T-shirts’. As more students participate, encourage them to create more complete sentences. Gradually, add more details to form a decent descriptive sentence. A final sentence might sound something like this: “There is a pink T-shirt on the bed.” If students struggle with adjectives or places, it’s a good idea to provide a cheat sheet. Students may wish to describe things for which they don’t know the words. This activity is an effective way to build practical vocabulary. Encourage students to make lists, use dictionaries, or seek translations for things they want to describe.

Energising Language Classroom Activities for Junior High School
In the world of language teaching, fostering a love for learning and effective communication is our ultimate goal. By implementing these engaging classroom activities for junior high school students, you are not only enhancing their language skills but also creating an environment where curiosity, creativity, and enthusiasm thrive. As we wrap up our exploration of these energizing language activities, remember that your role as a teacher is invaluable, and your dedication to making language learning exciting and impactful is what sets the stage for your students’ future success.
So, continue to innovate, adapt, and personalize these activities to suit the unique needs and interests of your students. Watch as their confidence soars, their vocabulary expands, and their ability to communicate fluently grows. With your guidance and these engaging activities in your teaching toolbox, you are well on your way to inspiring a new generation of confident and capable language learners. The journey to language proficiency may be challenging, but with your passion and these activities, it is always an exciting one.
Happy teaching!

Also check out these articles on teaching, teaching methods and teaching tools


